Campervan Sat Nav With Height Restrictions: How to Plan a Route That Fits
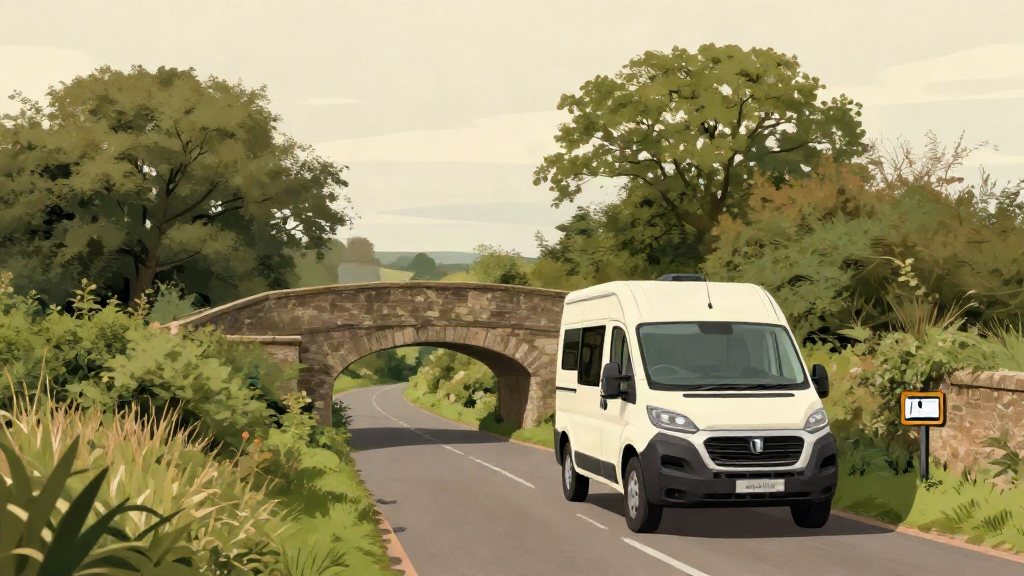
You have checked the campsite, packed the awning and topped up the water. Then the sat nav sends you down a lane with a low stone bridge, and the calm start to your trip disappears in a three-point turn. Height restrictions are the single most common reason a campervan journey goes wrong - and the easiest one to plan around, if your navigation knows your vehicle.
This guide walks you through setting up your campervan so your route is built around its real dimensions, then checking any route and any stop before you set off. It is the difference between hoping a road fits and knowing it does.
Why standard sat nav fails a campervan
A standard sat nav plans for a car. It has no idea your campervan is 2.8 metres high, 2.2 metres wide and 3,500 kilograms, so it treats a low bridge, a height barrier or a width-restricted lane as just another road. Most of these restrictions are legal limits, not suggestions, and there is rarely a warning until you are already committed.
Campervans sit in an awkward middle ground. You are taller than a car but often narrower than a motorhome, so a generic "large vehicle" mode over-restricts your route, while car mode sends you into trouble. What you actually want is a route planned around your own numbers.
Step 1: Enter your vehicle's real dimensions
Start with measured figures, not the brochure.
- Height: measure from the ground to the highest fixed point - usually the roof vent, aerial or roof box, not the bodywork.
- Width: include mirrors if they are fixed, and remember a bike rack or awning rail adds width.
- Weight: use your plated maximum (MTPLM) rather than the unladen weight, so weight-limited bridges and weak lanes are handled correctly.
- Length: worth adding if you tow, or if your campervan is on a long-wheelbase base vehicle.
Enter these once in your sat nav app and every route from then on is planned as a campervan route, not a car route. If your trip changes - you add a roof box, a bike rack or a tow bar - update the figures before you drive.
Step 2: Understand what your app is filtering out
A vehicle-aware app such as Motorhome & Caravan Sat Nav uses your dimensions to avoid the things that end campervan journeys early:
- Low bridges with a posted height below your vehicle
- Height barriers and width restrictions at car parks and seafronts
- Narrow lanes and weight-limited bridges that do not suit your outfit
- Turns and approaches that are simply too tight for your length
Because it is built for UK touring, it also knows the difference between a route that is legal and a route that is comfortable. A road can technically fit your campervan and still be a stressful half hour of passing places. A touring-focused app leans towards the route you will actually enjoy.
Step 3: Check the route before you set off
The planning happens at the kitchen table, not at the junction.
- Review the suggested route and look for the restriction warnings it surfaces.
- If a bridge or barrier is flagged, trust it. Do not assume the sat nav is being over-cautious.
- Compare alternative routes - a slightly longer A-road is almost always better than a short cut through a village.
- Save the route in advance so you are not planning a tricky arrival at dusk.
For a campervan, a route that fits is worth ten minutes of motorway over a "scenic" lane that turns into a reversing manoeuvre.
Step 4: Plan your stop too, not just the road
Arriving somewhere that cannot take you is its own kind of reroute. Before you commit, check that your overnight stop suits your campervan - pitch access, barrier heights at the entrance, and whether the approach road is one you would drive with a trailer.
A touring app that bundles a campsite finder with navigation lets you do this in one place. With 6,000+ UK campsites built in, you can plan the route and the stop together, so the two actually agree with each other. The alternative - navigating one way, then discovering the site's barrier is lower than your roof - is a problem you can simply delete from your trip.
Step 5: Drive with live information, not last night's plan
Roads change. Temporary height restrictions appear with roadworks, and traffic can push you onto roads you did not plan for. Live traffic and rerouting keep you on a campervan-appropriate path when the obvious route backs up, rather than dropping you into a lane that only a car should take.
If you run Apple CarPlay, put the app on your existing screen. Your vehicle profile, your route and your campsite stay with you, on a display you are already used to reading at a glance.
A quick pre-departure checklist
- Dimensions measured and up to date, including roof and rack additions
- Vehicle profile entered and selected for the whole trip
- Route reviewed with restriction warnings checked
- Overnight stop confirmed as suitable for your outfit
- Live traffic on, with Apple CarPlay connected if you use it
Arrive feeling ready
Height restrictions are not a hazard to gamble on. Set your campervan up once, plan each route and stop with your own dimensions in mind, and the low bridge stops being a worry and goes back to being part of the scenery. Touring should feel like freedom - and a route that fits is where that freedom starts.